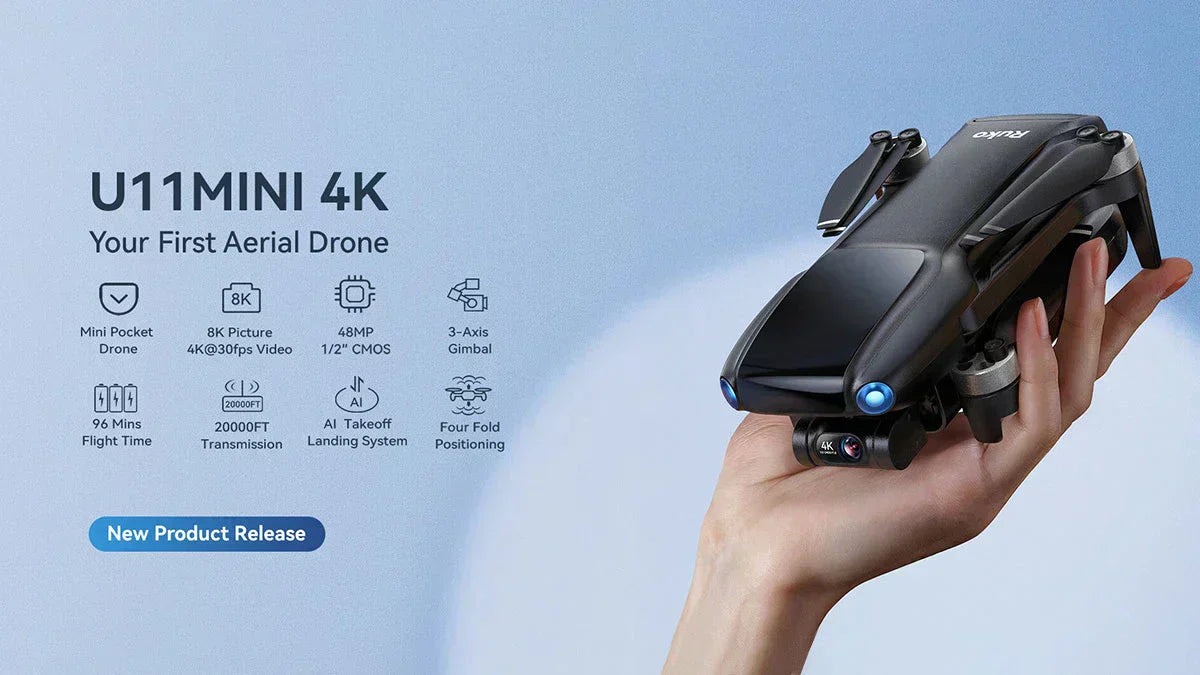
With drones gaining popularity worldwide, more and more people are able to enjoy the beauty of the world from the drone angle. To ensure you have a smoother flight, in this blog, let’s highlight some tips for aerial photography with Ruko drones.
1. Preparation before aerial photography
Inspect the drone thoroughly before aerial photography. First, carefully evaluate whether the fuselage and arm kits are damaged, and whether the connections of various components are firm. Next, confirm whether functional modules such as compass and gyroscope can operate normally. After that, ensure that the drone battery and remote control are fully charged in advance. Following completing pairing process, check whether the SD card is inserted correctly and whether there is enough storage in the SD card. It is recommended to format it regularly to ensure its stable performance.
2. Safety precautions
A. Calibration operation
When flying in an unfamiliar environment, it is recommended to calibrate the drone first because factors such as the earth's magnetic field and terrain may change. The calibration process includes compass calibration and horizontal calibration. Compass calibration can ensure that the drone can accurately sense the direction, and horizontal calibration can enable the drone to maintain a stable posture after takeoff, thereby achieving precise operation and avoiding flight deviations caused by environmental factors.
B.Takeoff and hovering confirmation
After the drone takes off, do not rush to perform flight operations. It is recommended to hover for a while first. During the hovering process, carefully observe the flight attitude of the drone, such as whether it is stable, and whether there is any abnormal shaking or deviation. If any problems are found, the drone should be landed and checked immediately to ensure that the flight is stable before continuing to fly. This step can timely discover potential flight problems and ensure the safety of subsequent flights.
C. Flight safety awareness
When flying long distances, you need to pay attention to obstacles and crowds, plan the flight routes, and pay attention to the surrounding environment; while flying close distances, you can complete a safer flight if you cooperate with your partner. One person controls the screen, and the other person observes the flight position and reminds you to avoid obstacles, which can improve flight safety and effectiveness.
3. Key points of aerial photography
A. Duration of drone movement
During aerial photography, each shot should last at least fifteen seconds. For example, when shooting forward, the drone should be simply controlled to fly forward, avoiding turning, lens adjustment or other complex operations at the same time. The purpose of this is to ensure the smoothness and stability of the video and provide high-quality materials for post-editing. If each aerial movement is maintained too short or the operation is too complicated, the video will appear jumpy and unstable, affecting the final visual effect.
B. Standard operation of controlling a drone
When controlling the drone, the drone movement should be slow and precise. Sudden turns or rapid acceleration may cause the drone to lose balance, causing the shooting picture to shake violently and become blurred. When operating the joystick, push or pull gently to give the drone enough time to respond to the command, so as to ensure a stable flight attitude and clear shooting footage.
C. Proficiency in basic joystick operations
In the initial stage of aerial photography, it is advisable to first familiarize yourself with the joystick operation and understand the reaction generated by the amount of stick. Proficiency in basic aerial photography movements is the basis for complex shooting, such as forward, backward, left, right, up and down. Only when you are able to use these basic motions freely can you better perform other aerial photography actions. You can practice basic operations in an open and safe place to gradually improve your control proficiency.
D. Use functional assistance
You can make full use of the drone's own functions to maintain the stability of the footage. For example, with the cruise control function, after turning it on, the drone can fly steadily at the set speed, making the aerial shot smoother and more stable, and avoiding the shot jitter caused by uneven speed of human control.
E. Choosing the timing of recording
In order to reduce the pressure of post-editing, it is essential to start recording only when aerial photography is being performed, rather than recording the whole process. Full-time recording will generate a lot of redundant materials, which will not only take up storage space, but also increase the workload of post-screening and editing. Before preparing for shooting, first conceive the shooting contents, and turn on the recording function when you need to capture a specific scenery. This way, you can focus more on ensuring the quality of the aerial footage and improve shooting efficiency.
Summary
Through the above tips, you will be able to capture the desired shot. For more assistance, you can contact our exceptional 7/24 Ruko customer service to guarantee your smooth flight experience.


